Hey miners! I believe that the Cartography table is one of those many items that are useful but are very underrated and not used by many players as they should be. The cartography table can help you at times when you are lost and can’t find your way back home, that is when you pat on your back and thank yourself that it was wise of you that you used a cartography table and make a map of your area before you went exploring outside.
Also, we will discuss some main points in this article about the cartography table.
- What is a cartography table?
- What are its uses?
- From where can you obtain it?
- How can you craft it?
- How to use a cartography table?
So, miners, we shall start without waiting.
The Cartography table:
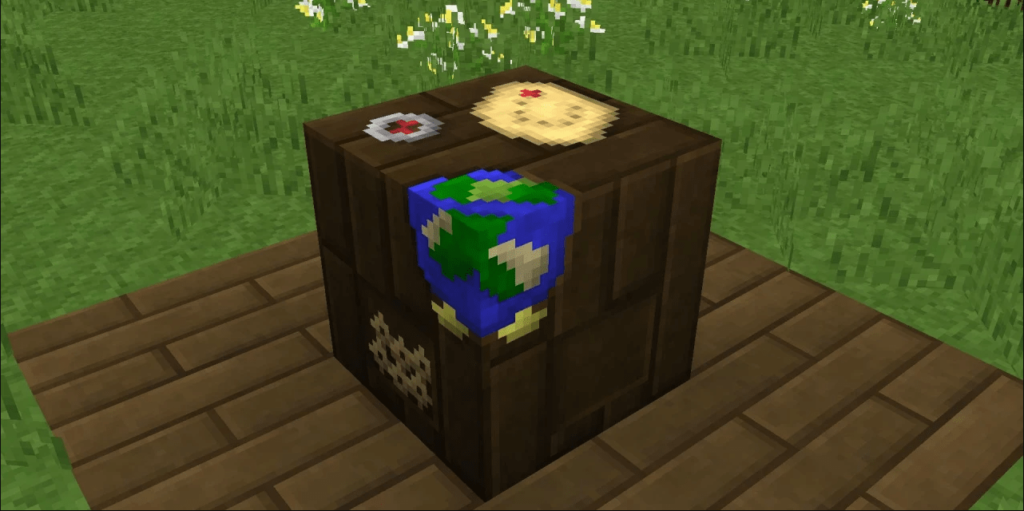
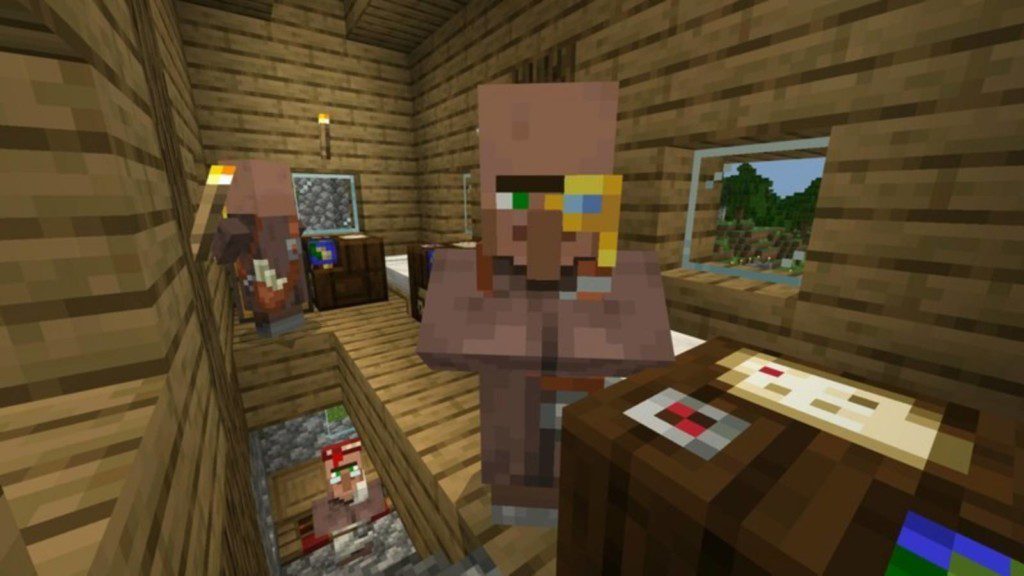
A cartography table is an accessible block that can be crafted or found in some village huts. It is used as a job site for a Cartographer.
Uses of cartography table:
The cartography table can be used for the following purposes.
- Cloning a map.
- Zooming out a map.
- Locking a map.
Obtaining a cartography table:
If you do not have a cartography table then you can now obtain it through the following sources,
- Natural generation.
- Crafting it on your own.
Moreover, We will discuss all these in short.
1) Natural generation:
To obtain it naturally you need to find a village and within that village, there is a small chance that you might find a cartographer’s hut. After finding a hut you can easily find a cartography table once you enter it
3) Crafting a cartography table:
The second method to obtain a cartography table is through crafting so let me tell you how you can craft one for yourself.
Firstly, we will look at the material required to make a cartography table.
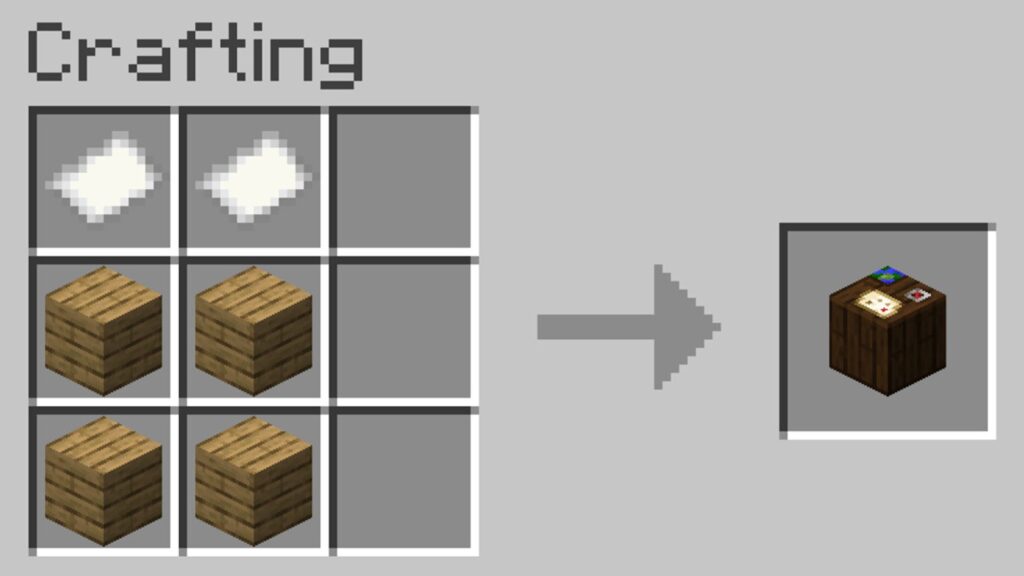
You first have to collect the following listed materials,
- 2 papers.
- 4 planks
You can use any of the wood planks available,
Now, we will check out the steps involved in making the cartography table, follow the steps written below.
1) Open your crafting menu:
Open the crafting menu so, you would have your 3×3 crafting grid on your screen.
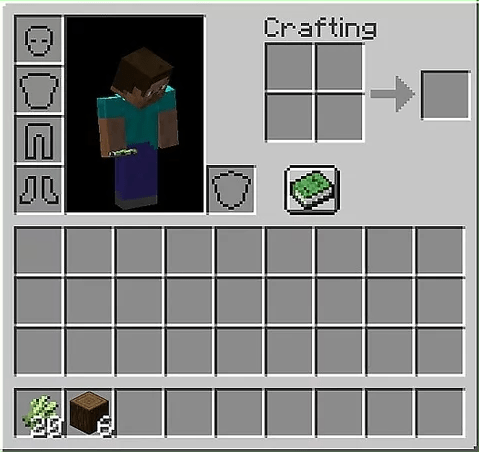
2) Add items to craft the cartography table:
In the crafting menu, you will see a crafting area that is made up of a 3×3 crafting grid.
To have a cartography table, you need to have 2 papers and 4 wood planks placed in the 3×3 crafting grid.
Keep in mind that, When crafting with wood planks, you can use any sort of wood planks that are available in the game.
That is
- Oak Planks

- Jungle Planks
- Birch Planks
- Acacia Planks
- Dark Oak Planks
- Crimson Planks
- Warped Planks


When making a cartography table, it should be noted that the paper and wood planks are placed in the same pattern as we will discuss.
In the first row, there should be 1 paper in the first box and the other paper in the second box right next to the first paper.
Right below the two papers in the second row, you shall place 1 wood plank under each paper. After placing two planks on the second row you will need to place the last two blocks in the third row under each wood plank that you just placed.
Just the way it’s shown in the image.
This is Minecraft’s easiest crafting recipe by which you can make a cartography table in a very short period of time.
3) Move the cartography table to the inventory:
If you placed the items in the correct order A new item will automatically appear on the right block, which is your cartography table. Now, move your new item to the inventory so you can use it.
Congrats miner! You have learned how to make a cartography table of your own, which you can take anywhere and place wherever you desire.
Now, let us move toward how to use a cartography table in Minecraft:
How to use a Cartography Table in Minecraft:
A cartography table is a block that allows you to play more efficiently with your maps.
You can do the following things with this table:
- Upgrade your map to a larger size.
- Duplicate a map.
- Lock a map.
There are many other things you can do with a cartography table, but these 3 are the most useful ones.
Let us start by increasing the size of the map and others following.
1) Increase the size of a map
To increase the size of a map, you will need the following materials.
- The map you want to increase.
- One plain paper.
- One cartography table.
The steps involved are;
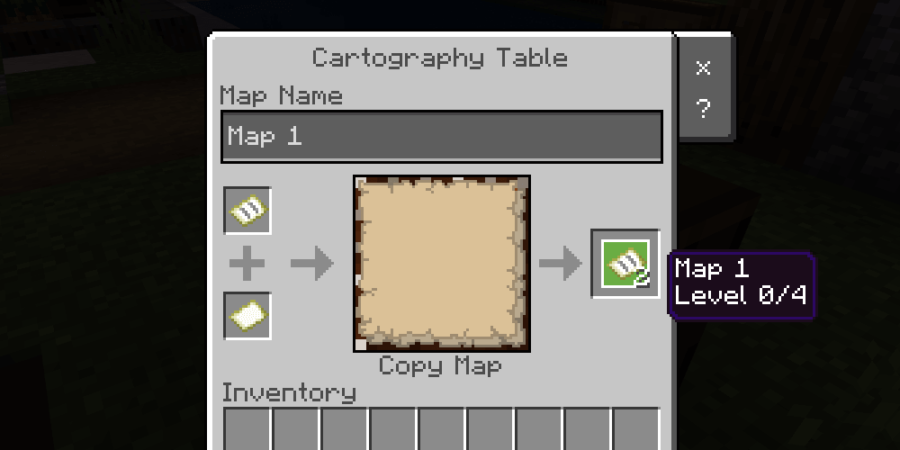
When using a cartography table, firstly you have to select the cartography table which is present in your hot bar and place it just like any other block. Open the Cartography table menu.

1) Add the map you want to increase:
You will see two slots in the cartography table, In the first slot place the map you want to increase.
2) Add a plain paper:
In the second slot of the cartography table (right under the box where you placed the map) place the plain paper.
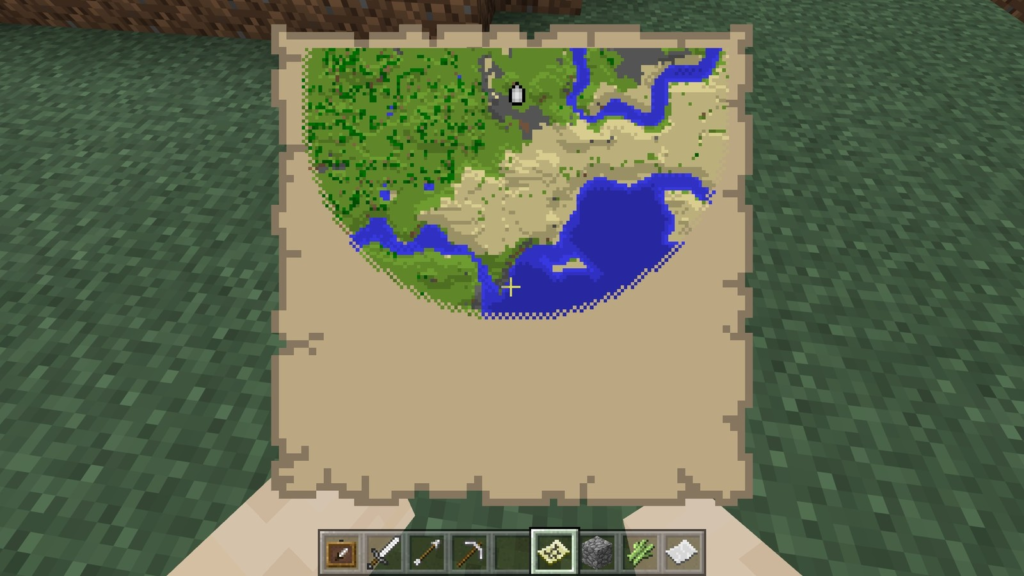
You shall immediately see the map increase in size from its boundaries
In the result box, you will see an increased-sized map, You can add upto 4 plain papers to a single map to have
3) Move your bigger map in your inventory:
Now, move your upgraded map into the inventory to access it.
Congrats miner! You have now learned how to increase the size of the map by using a cartography table.
2) Cloning a map by using a cartography table:
The next thing you can do with the cartography table is duplicate a map.
To duplicate a map you need these materials,
- 1 map which you want to be duplicated
- 1 empty map
- 1 cartography table.
The steps involved in cloning a map are:
1) Add the map:
Choose the map you want to duplicate, and place it on the slot of the cartography table.
2) Add an empty map:
Now, add an empty map to the cartography table in the second slot. This will be the map on which the first one will be copied.
3) Move the clone to the inventory:
Now, move your newly made copy to the inventory, so you can easily access it.
Congrats! You’ve learned how to make a clone of your map in Minecraft.
3) Locking a map with the help of a cartography table:
Last but not the least, here comes another use of the cartography table which is locking a map with a cartography table.
This is the best way to keep your map secure and uneditable.
To lock a map by using a cartography table you will need the following materials:
Materials required:
- A map.
- A cartography table.
- A glass pane.
Let us now explore the steps involved in locking a map by a cartography table.
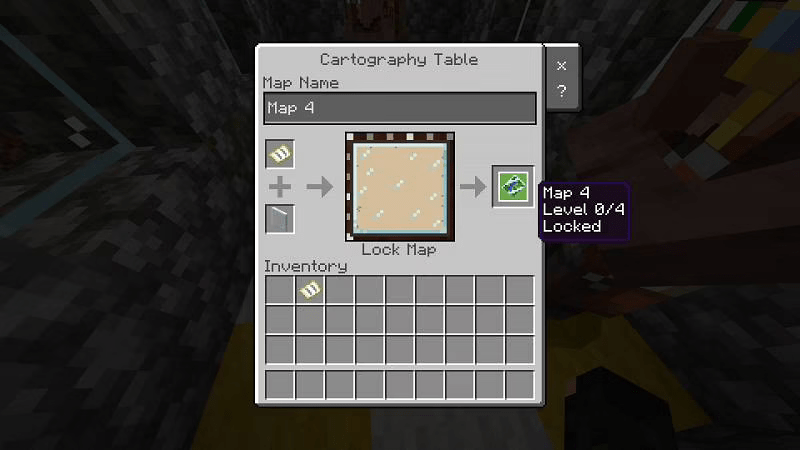
1) Add the map:
In the slot of the cartography, table place the map. This is the map you want to lock.
2) Add the glass pane:
In the second slot of the cartography table place the glass pane, you collected for locking the map.
The cartography table will add a lock to the map, which will clearly show that the map is locked and no more details can now be added. Apart from this, you will see that whenever you will travel the world there will be nothing added to the locked map.
Congrats to you again! You have all the basic things to go with a cartography table and become a pro with the maps and never get lost in the never-ending world of Minecraft.
To summarize:
So miners! We do not think that there is anything left now to learn about a cartography table. To sum things up, a cartography table is a really useful block that can help you get better with map making and guide you in directions. You can obtain this table naturally, or craft it as well. You can use it to lock maps, copy maps, and increase the size of your maps.

Someone who fell in love with gaming the very first time he picked up the controller at the age of 6 and hasn’t stopped since. My name is Hamza Zuberi and I have been gaming for the most part of my life and Minecraft is on the top of my most favorite games that I have ever played. And now I want everyone to know about Minecraft and that is why I am here, educating the mass so that Minecraft can keep on growing.